How to set up analytics in Nuxt
Jan 19, 2024
Product analytics enable you to gather and analyze data about how users interact with your Nuxt.js app. To show you how to set up analytics, in this tutorial we create a basic Nuxt app, add PostHog on both the client and server, and use it to capture pageviews and custom events.
Creating a Nuxt app
To demonstrate the basics of PostHog analytics, we create a simple Nuxt 3 app with two pages and a link to navigate between them.
First, ensure Node.js is installed (version 18.0.0 or newer). Then run the following command:
Name it whatever you like (we call ours nuxt-analytics), select npm as the package manager, and use the defaults for the remaining options.
Adding pages
Next, create a new directory pages and two new files index.vue and about.vue in it:
In index.vue, add the following the code:
In about.vue, add the following the code:
Lastly, replace the code in app.vue with:
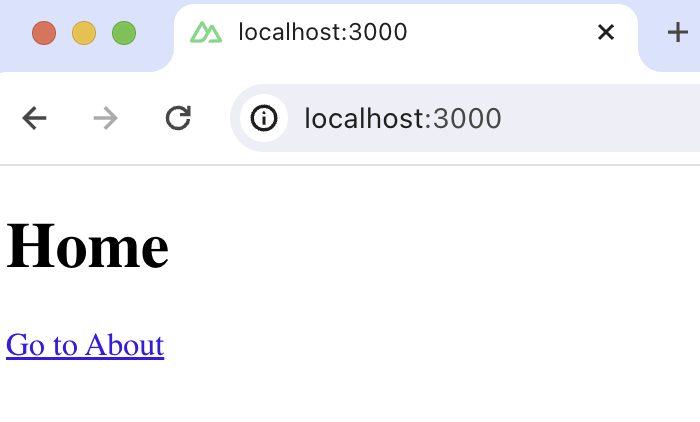
The basic setup is now complete. Run npm run dev to see your app.

Adding PostHog on the client side
This tutorial shows how to integrate PostHog with
Nuxt 3. If you're usingNuxt 2, see our Nuxt docs for how to integrate.
With our app set up, it’s time to install and set up PostHog. If you don't have a PostHog instance, you can sign up for free.
First install posthog-js:
Then, add your PostHog API key and host to your nuxt.config.ts file. You can find your project API key in your PostHog project settings
Create a new plugin by creating a new folder called plugins in your base directory and then a new file posthog.client.js:
Add the following code to your posthog.client.js file:
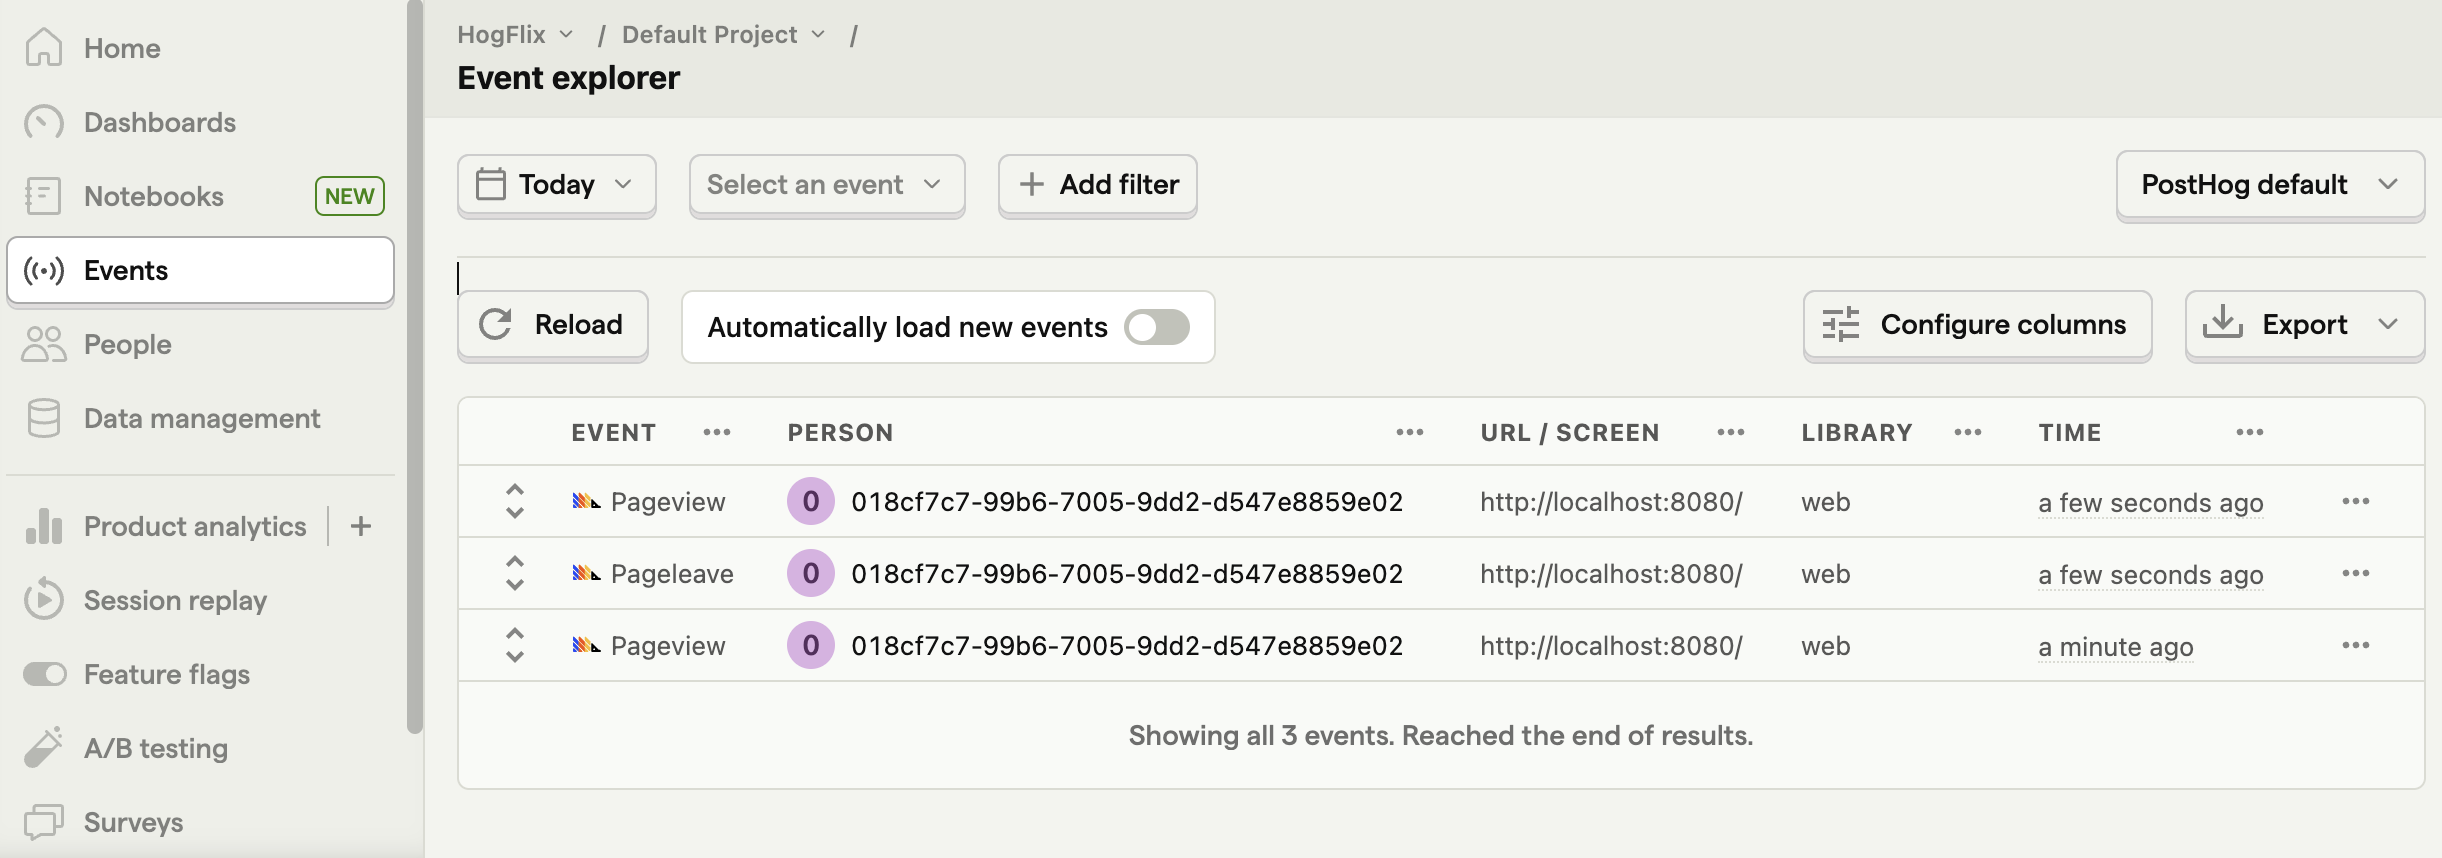
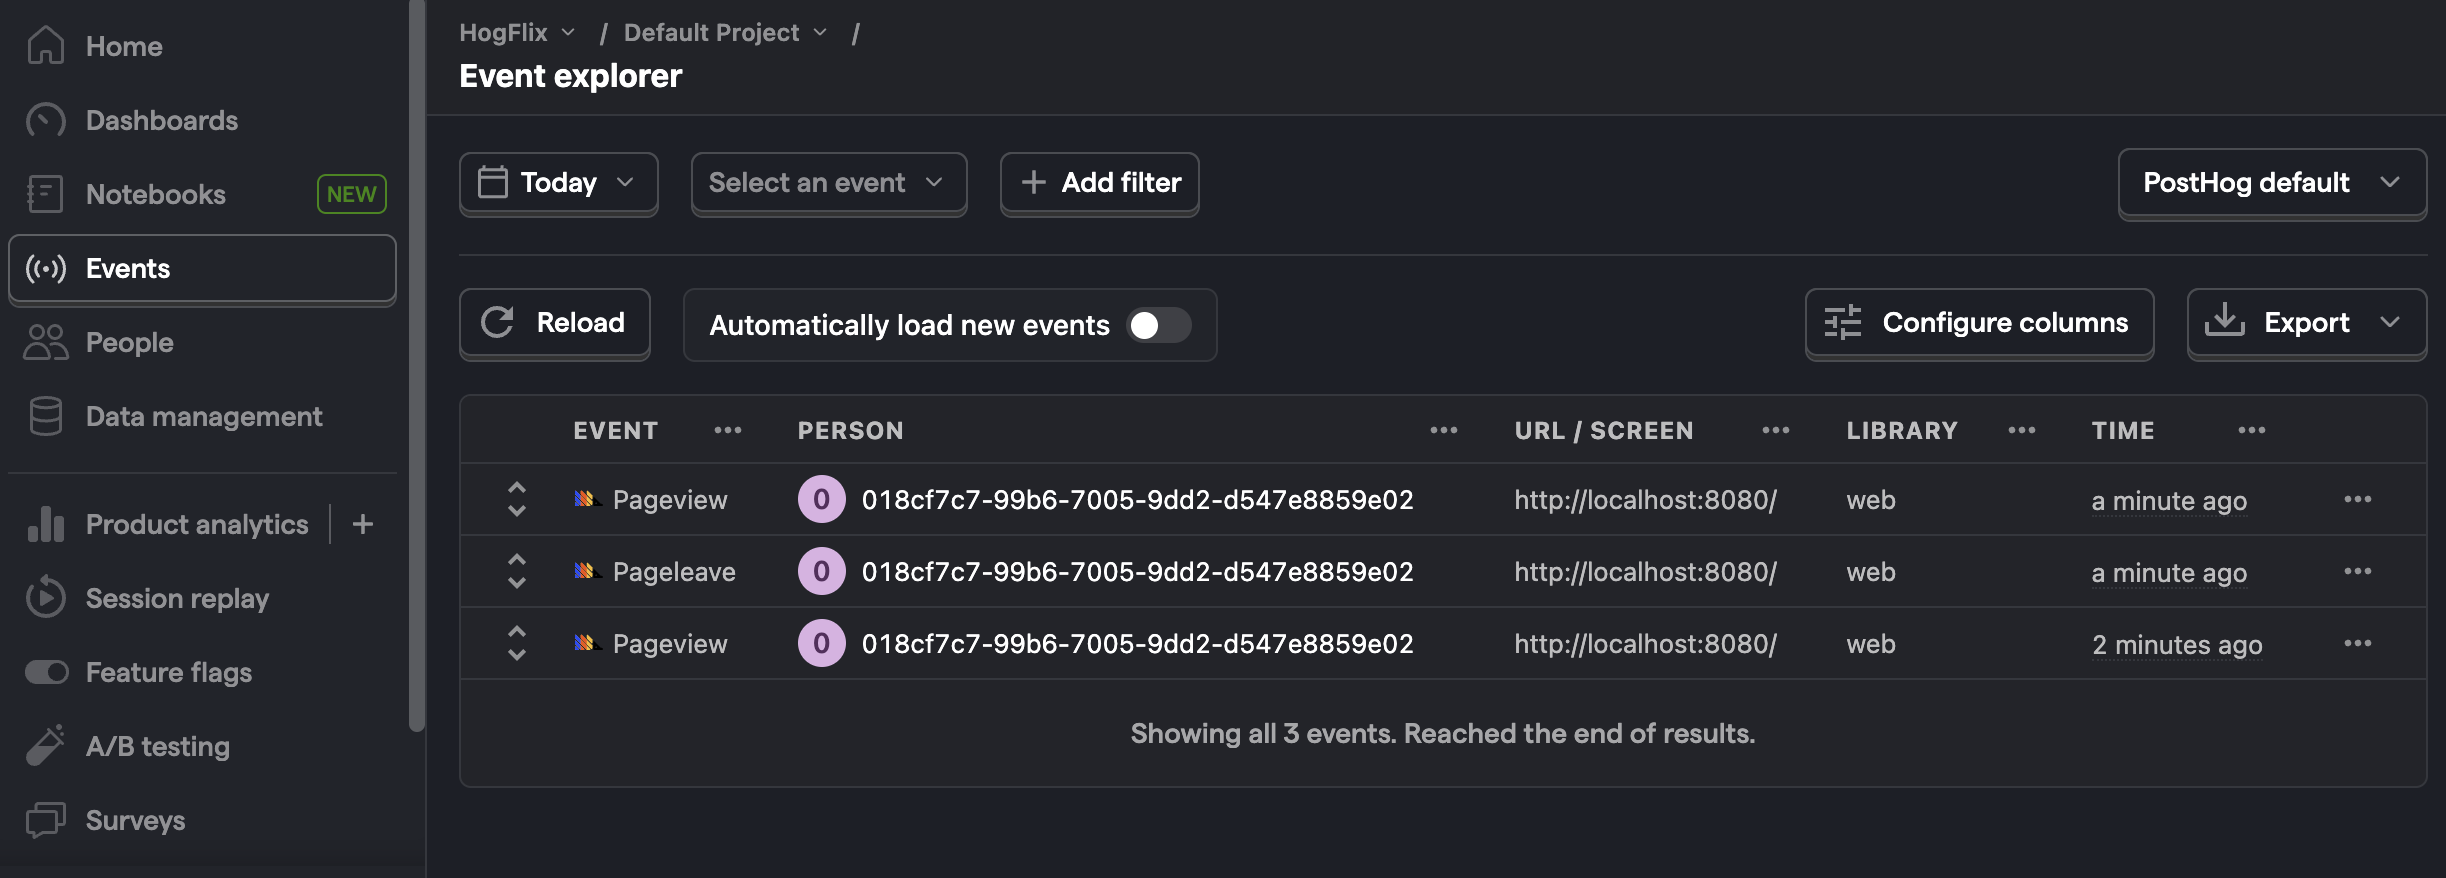
Once you’ve done this, reload your app. You should begin seeing events in the PostHog events explorer.


Capturing pageviews
You might notice that moving between pages only captures a single pageview event. This is because PostHog only captures pageview events when a page load is fired. Since Nuxt creates a single-page app, this only happens once, and the Nuxt router handles subsequent page changes.
If we want to capture every route change, we must write code to capture pageviews that integrates with the router.
In posthog.client.js, set up PostHog to capture pageviews in the router.afterEach function. Additionally, you can use nextTick so that you capture the event after the page is mounted.
Make sure to set capture_pageview in the PostHog initialization config to false. This turns off autocaptured pageviews and ensures you won’t double-capture pageviews on the first load.
Capturing pageleaves (optional)
Note that once you disable automatic $pageview captures when calling posthog.init you'll be disabling automatic $pageleave capture as well. If you want to continue capturing $pageleaves automatically, you can re-enable it.
Capturing custom events
Beyond pageviews, there might be more events you want to capture. You can do this by capturing custom events with PostHog.
To showcase this, we add a button to the home page and capture a custom event whenever it is clicked. Update the code in index.vue:
When you click the button now, PostHog captures a custom home_button_clicked event. Notice that we also added a property user_name to the event. This is helpful for filtering events in the PostHog dashboard.
Adding PostHog on the server side
Nuxt is a full stack framework, parts of it run on both the client and server side. So far, we’ve only used PostHog on the client side and the posthog-js library we installed won’t work on the server side. Instead, we must use the posthog-node SDK. We can start by installing it:
Next, initialize posthog-node wherever you'd like to capture events server-side, such as in your server routes or in the middleware. For this tutorial, we'll show you how to capture an event in the middleware:
Create a folder middleware in server directory and then a new file analytics.js in it:
Inside analytics.js, create a middleware function. Initialize PostHog in it and capture an event:
Note: Make sure to always call
await posthog.shutdown()after capturing events from the server-side. PostHog queues events into larger batches, and this call forces all batched events to be flushed immediately.
If you run your app again, you should begin to see in_the_middleware events in PostHog.
Handling distinctId on the server
You may have noticed that we set distinctId: placeholder_distinct_id_of_the_user in our event above. To attribute events to the correct user, distinctId should be set to your user's unique ID. For logged-in users, we typically use their email as their distinctId. However, for logged-out users, you can use the distinct_id property from their PostHog cookie:
Further reading

Subscribe to our newsletter
Product for Engineers
Read by 25,000+ founders and builders.
We'll share your email with Substack
Questions? Ask Max AI.
It's easier than reading through 564 docs articles.
