How to set up analytics in iOS
Feb 27, 2024
Product analytics enable you to gather and analyze data about how users interact with your iOS app. To show you how to set up analytics, in this tutorial we create a basic iOS app, add PostHog, and use it to capture events and create insights.
1. Create a new iOS app
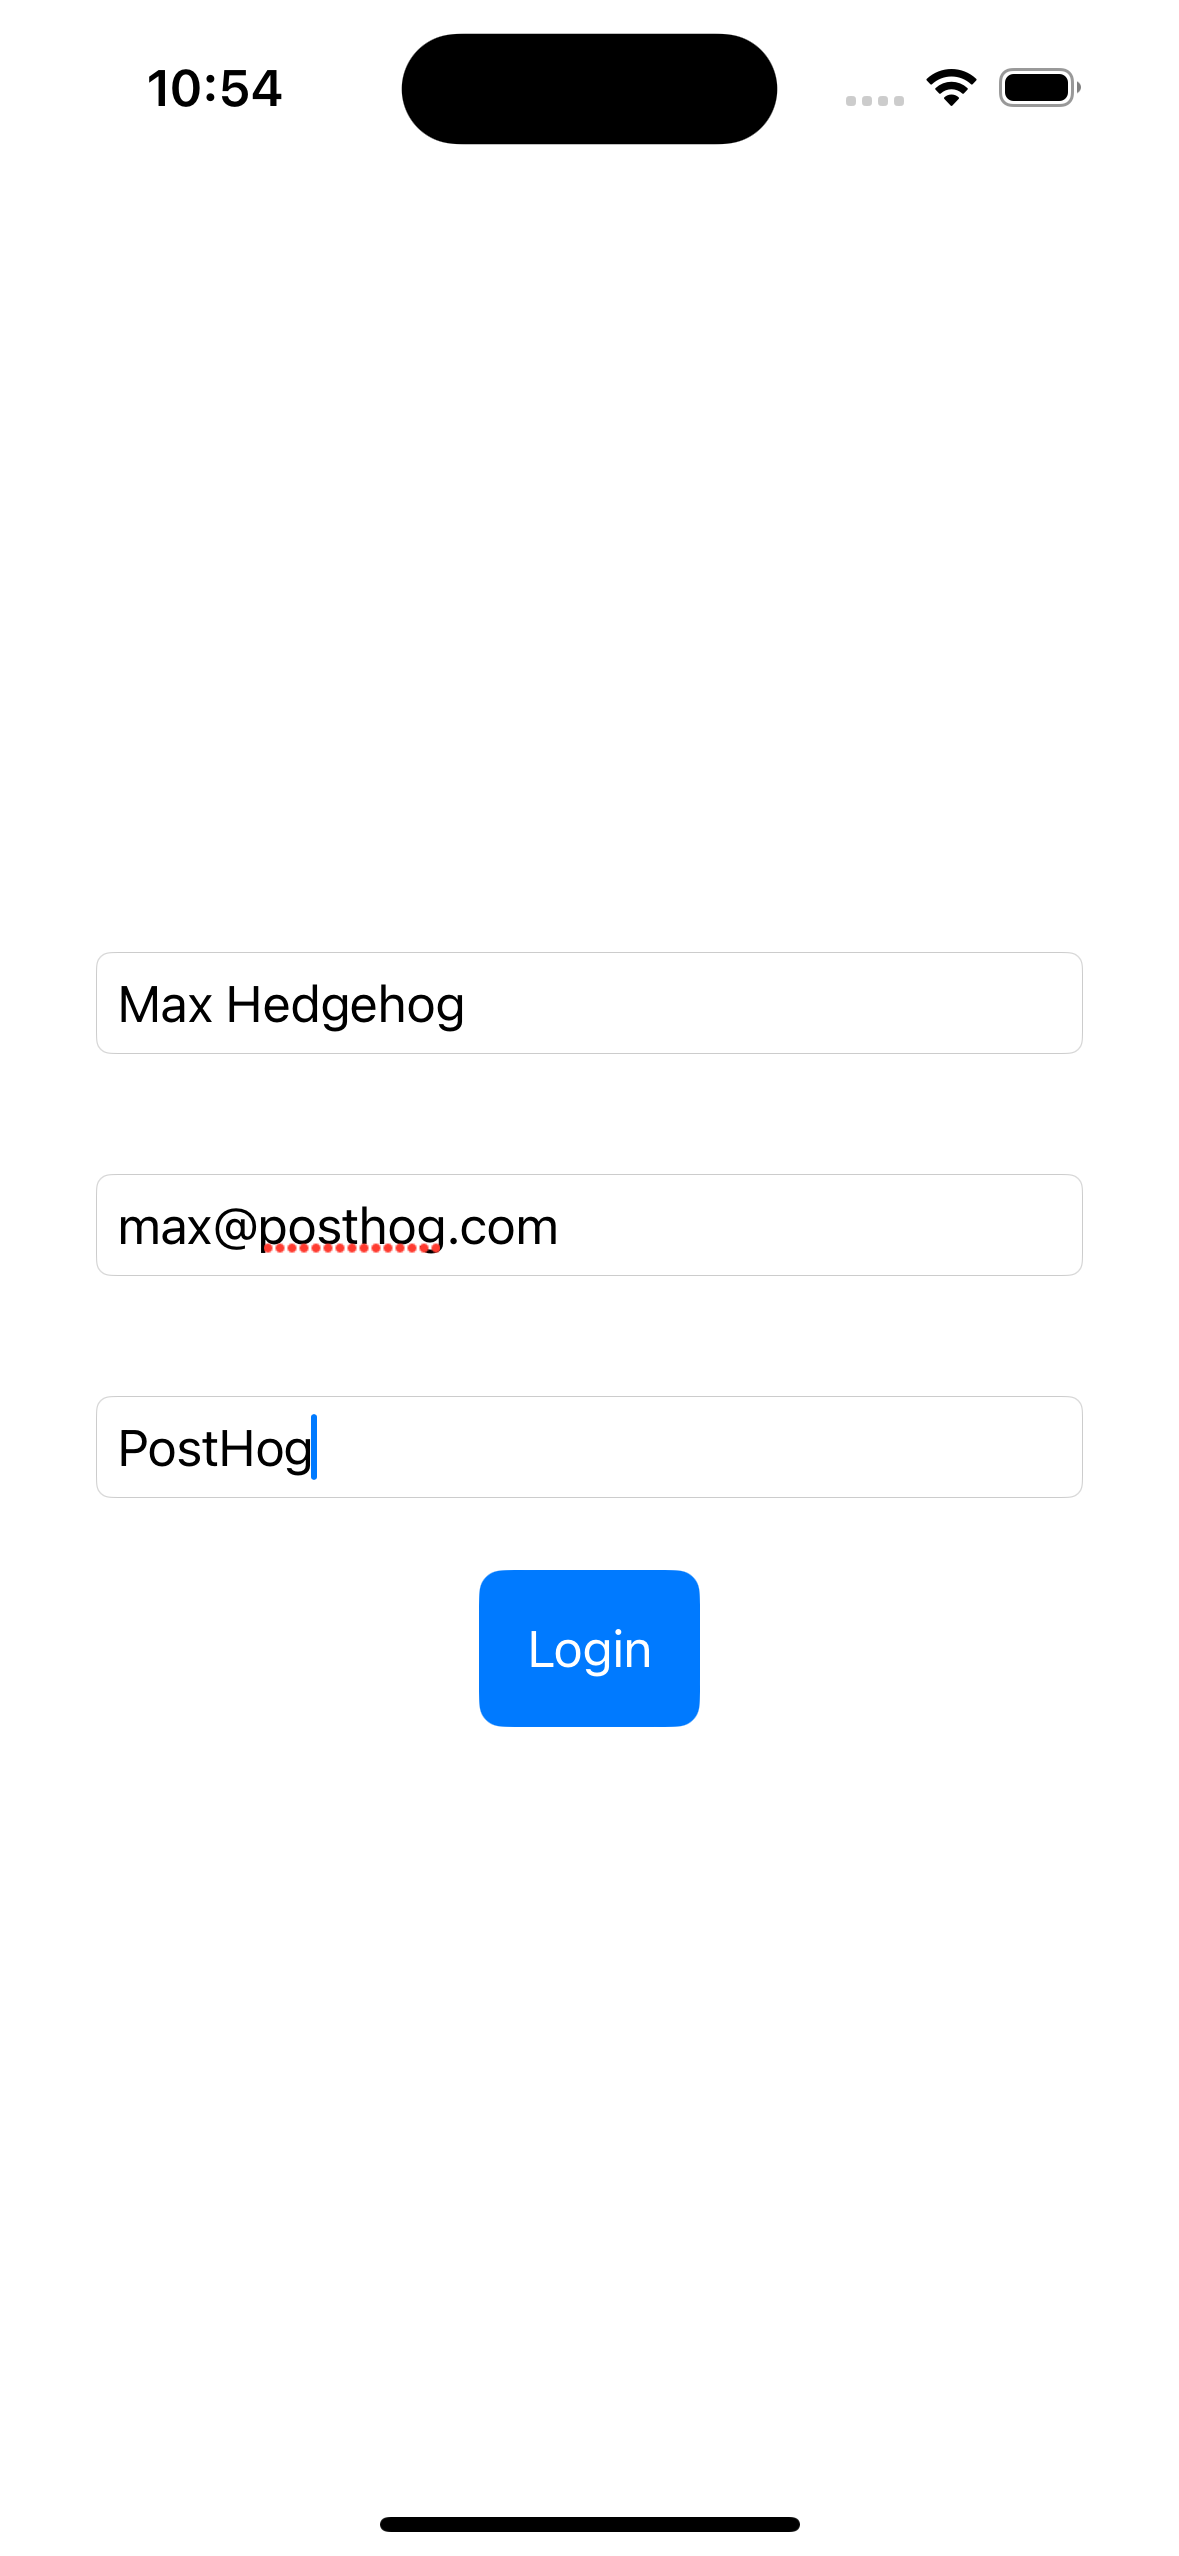
Our app will have two screens:
- a
loginscreen with a form to enter in your name, email, and company name. - a
homescreen with submit button, toggle, and logout button.
The first step is to create a new app. Open Xcode and click "Create new project". Select iOS as your platform, then "App" and press next. Give your app a name (we chose ios_analytics), select SwiftUI as the interface, and the defaults for everything else. Click next and then "Create".
Then, replace your code in ContentView.swift with the following:
Our basic set up is now complete. Build and run your app to see it in action.
2. Add PostHog to your app
With our app set up, it’s time to install and set up PostHog. If you don't have a PostHog instance, you can sign up for free.
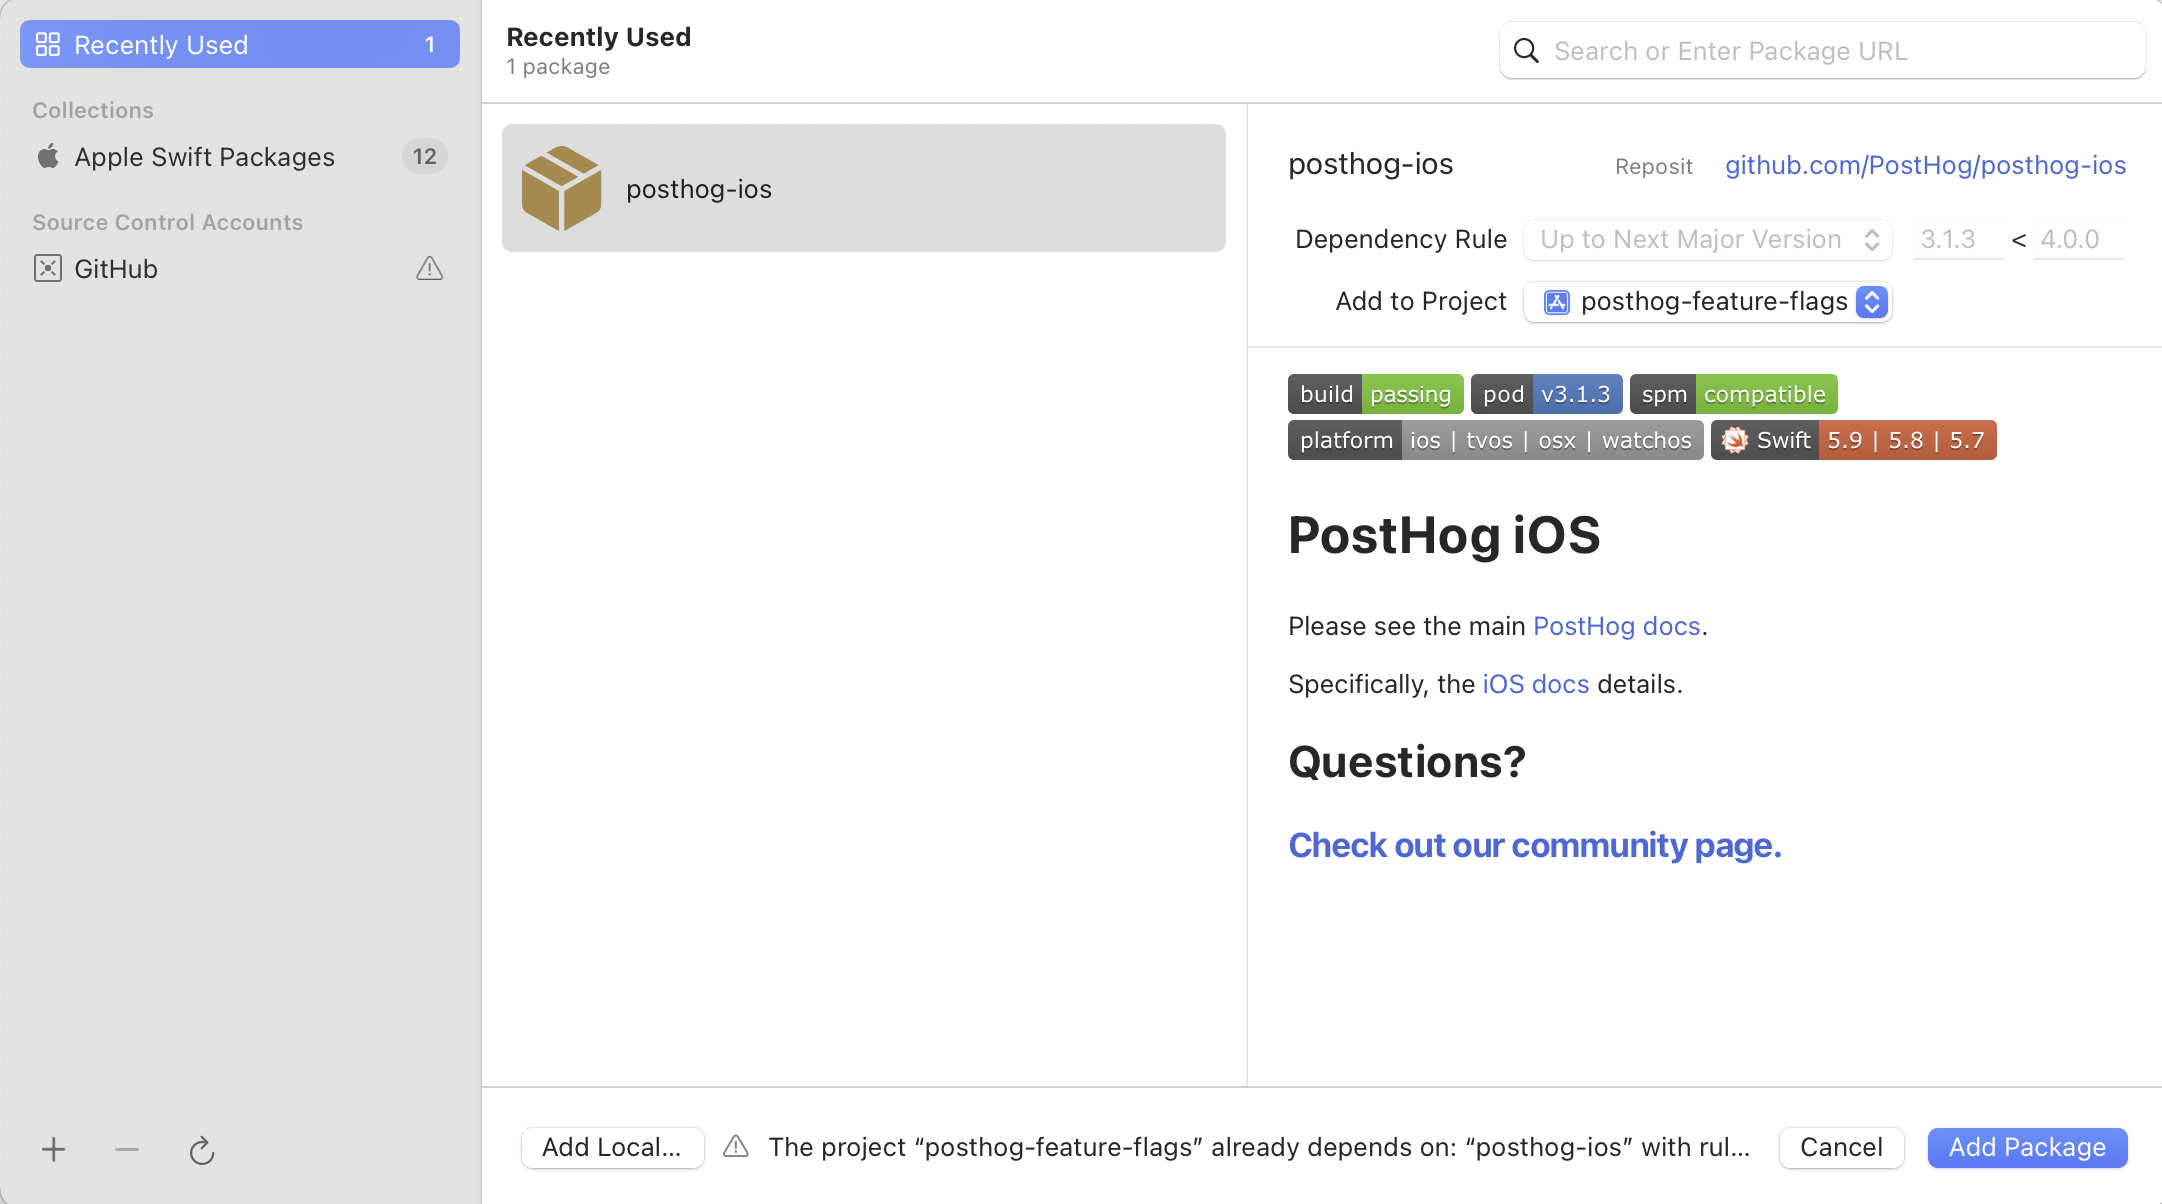
First, add posthog-ios as a dependency to your app using Swift Package Manager (or if you prefer, you can use CocoaPods).
To add the package dependency to your Xcode project, select File > Add Package Dependency and enter the URL https://github.com/PostHog/posthog-ios.git. Select posthog-ios and click Add Package.
Note that for this tutorial we use version 3.1.3 of the SDK.
Next, configure your PostHog instance in App.swift using your project API key and instance address (you can find these in your project settings):
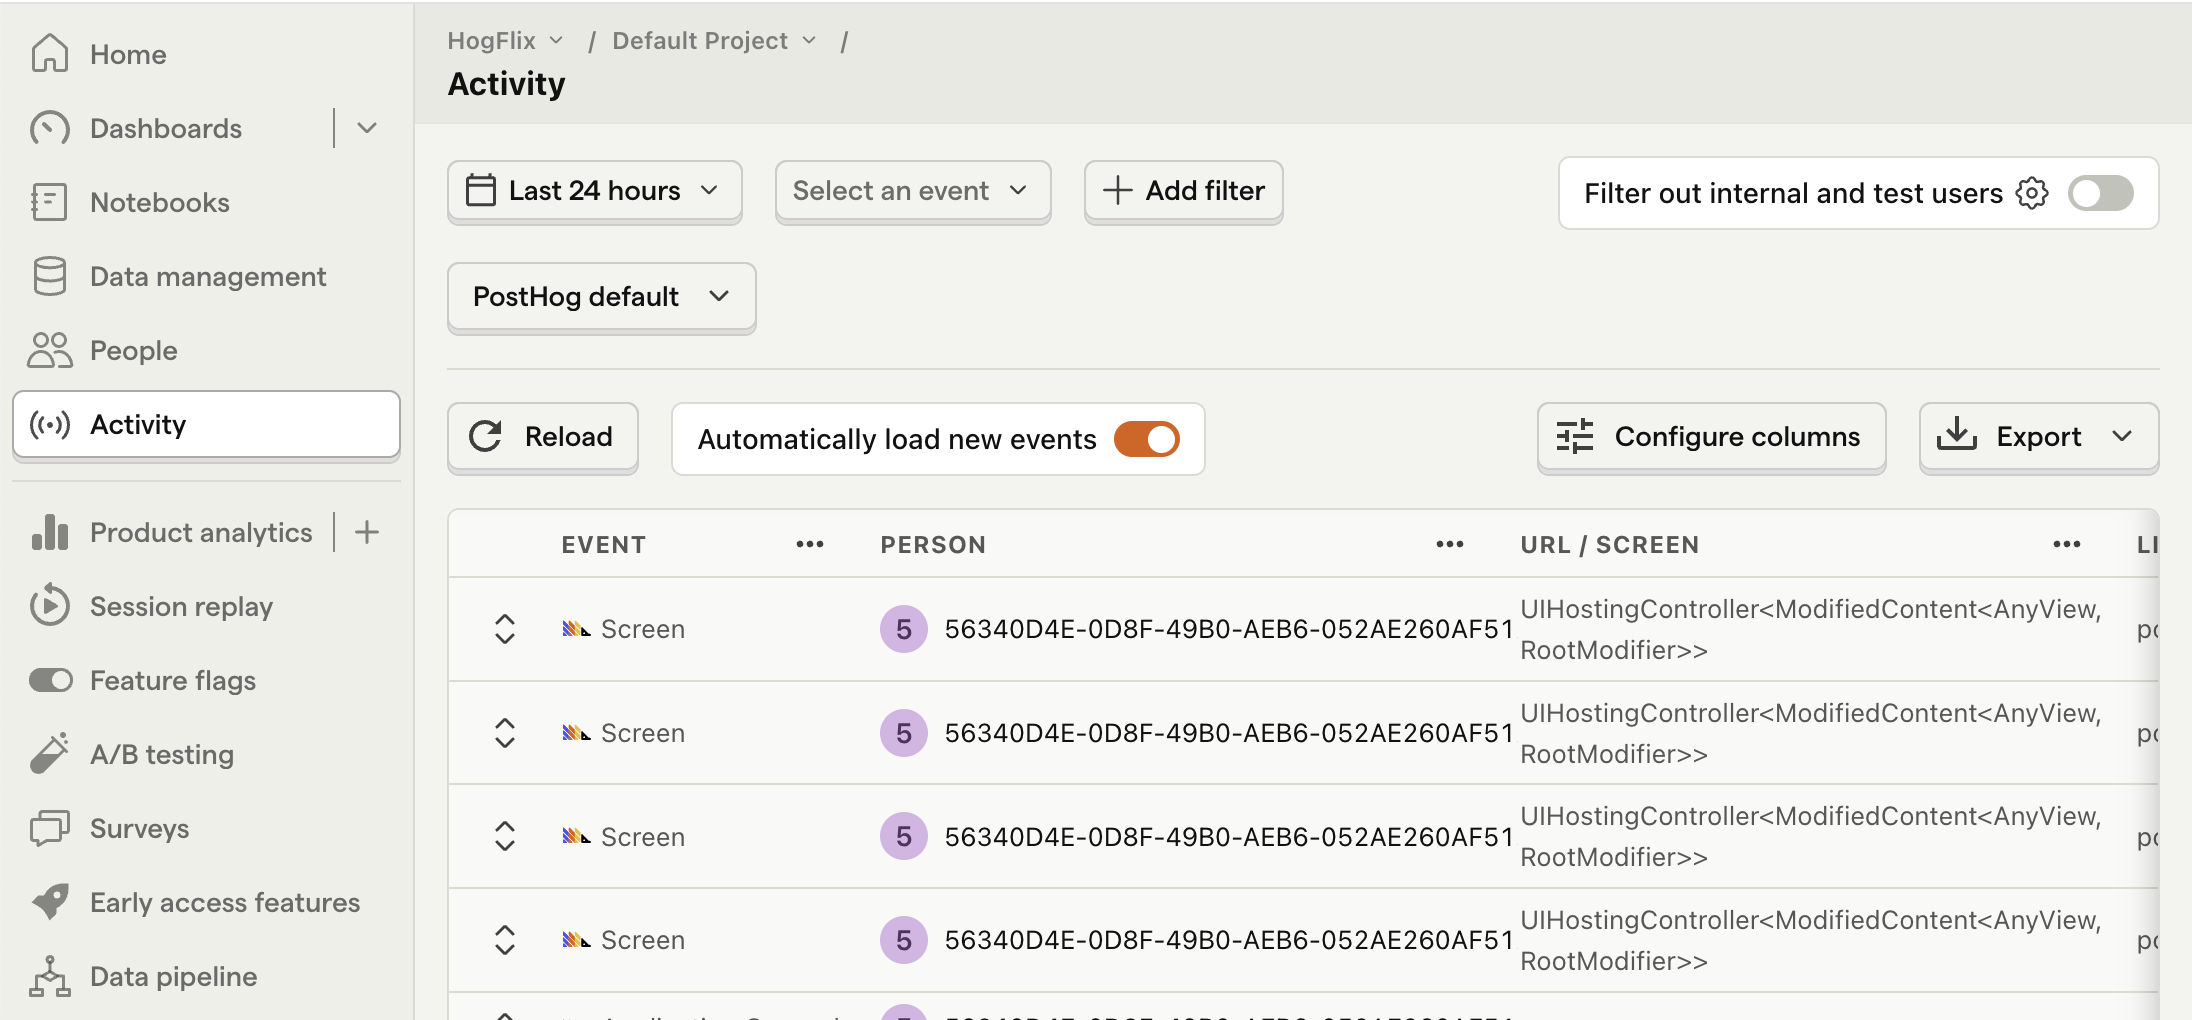
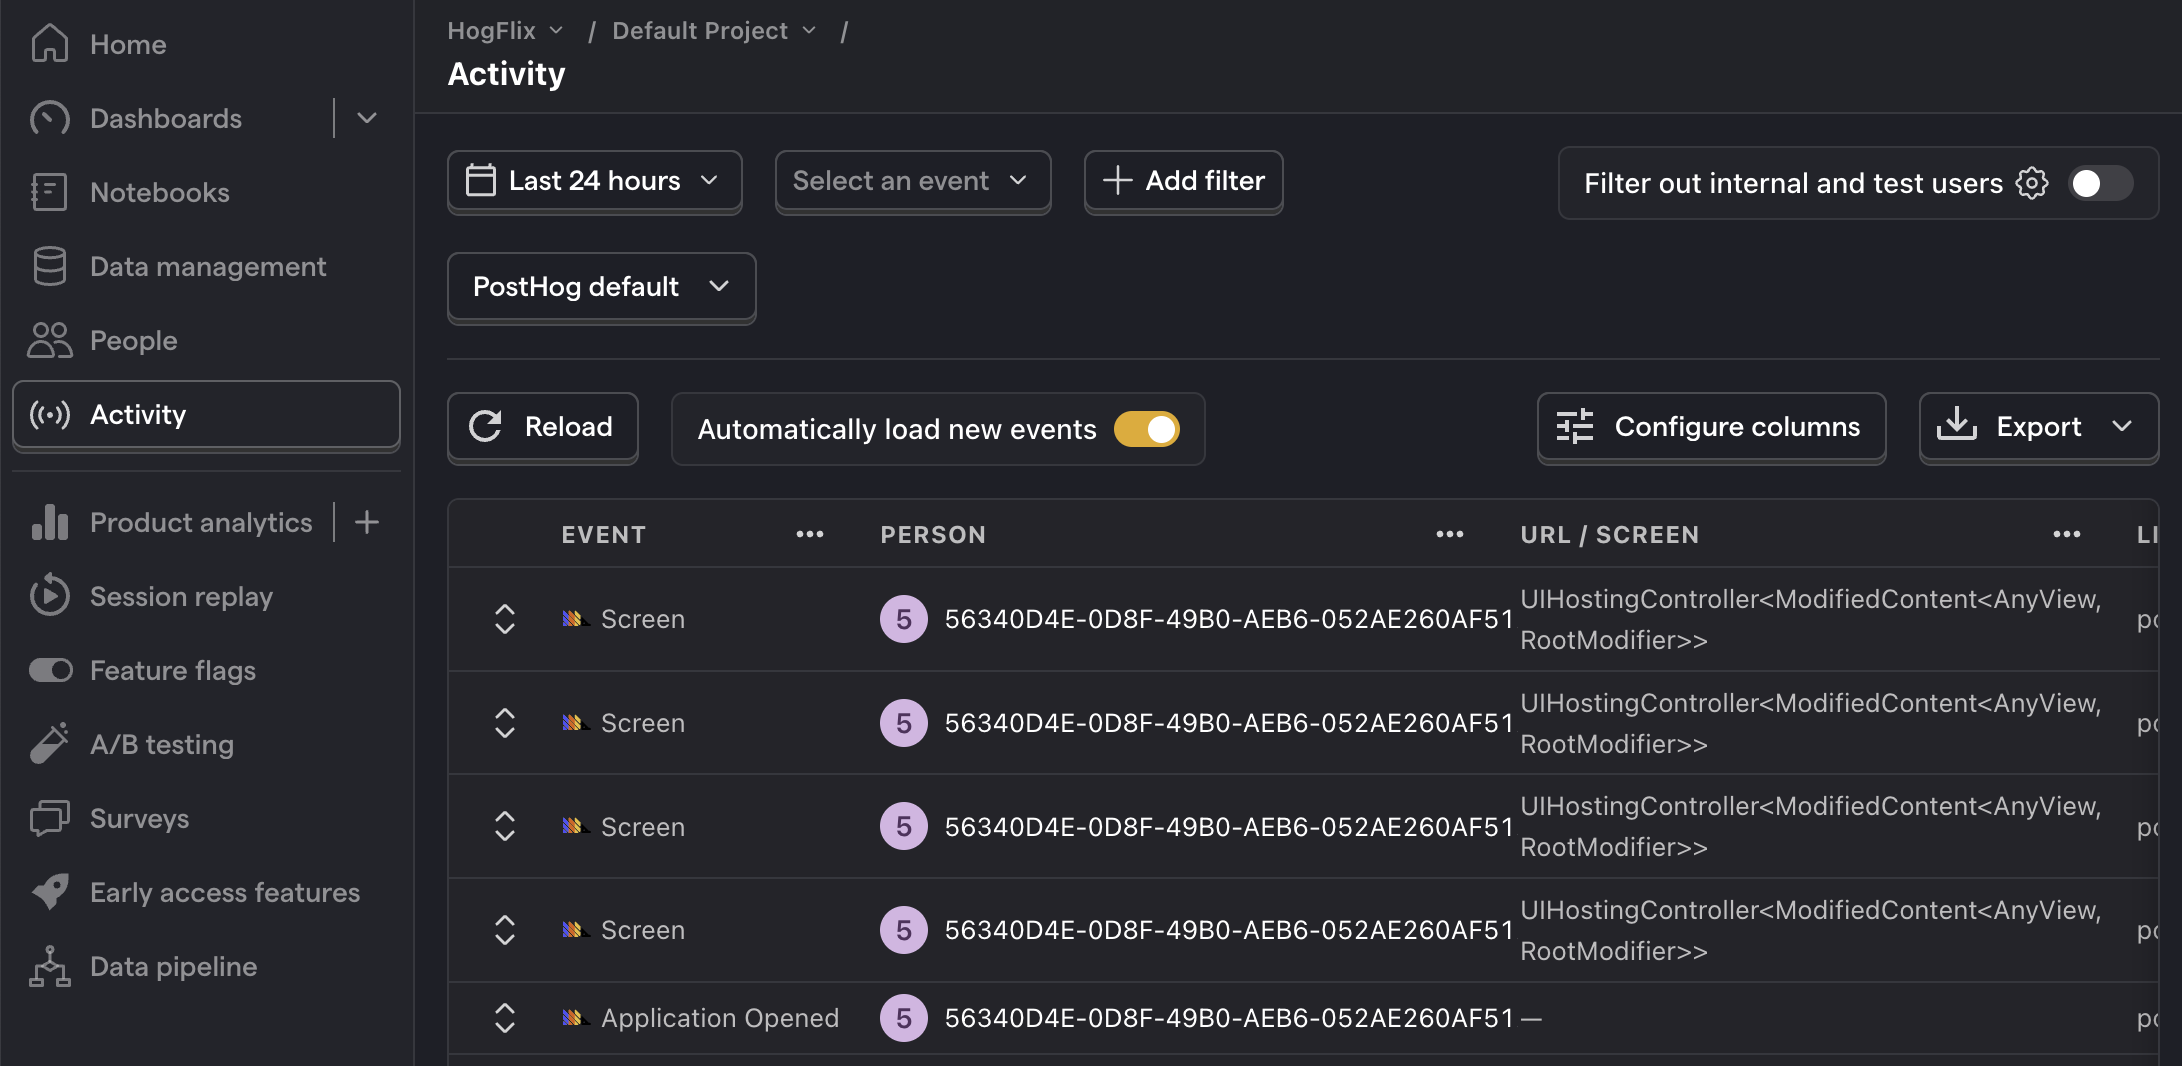
To check your setup, build and run your app. You should start seeing events in the activity tab.
3. Implement the event capture code
To show how to capture events with PostHog, we capture an event when the submit button on the home page is clicked. To do this, we call PostHogSDK.shared.capture():
Refresh your app and click the button on the home page a few times. You should now see the captured event in your PostHog activity tab.
Setting event properties
When capturing events, you can optionally include additional information by setting the properties argument. This is helpful for breaking down or filtering events when creating insights.
As an example, we add the value of the toggle as an event property:
Identifying users
Linking events to specific users enables you to build a full picture of how they're using your product across different sessions, devices, and platforms. To link events from anonymous to specific users, we call PostHogSDK.shared.identify() with a distinctId argument. The distinctId must be a unique identifier for the user – usually their email or database ID.
To show you an example, update the code for the login button to the following:
Any past or future events captured after calling identify will now be associated with the email you provided.
To test this, press logout, fill the form in and press login. Then, in the home page, press the submit button to capture the home_button_clicked event. You should now see the email in the Person column in your activity tab.


Lastly, when the user logs out, you should call PostHogSDK.shared.reset(). This resets the PostHog ID and ensures that events are associated to the correct user.
Capturing group analytics
Groups are a powerful feature in PostHog that aggregate events based on entities, such as organizations or companies. This is especially helpful for B2B SaaS apps, where often you want to view insights such as number of active companies or company churn rate.
To enable group analytics, you'll need to upgrade your PostHog account to include them. This requires entering your credit card, but don't worry, we have a generous free tier of 1 million events per month – so you won't be charged anything yet.
To create groups in PostHog, simply include them in your code by calling PostHogSDK.shared.group():
In the above example, we create a group type company, and then set the value as the unique identifier for that specific company. Any future events that are captured will now be associated with this company.
4. Create an insight in PostHog
Restart your app and capture events using different inputs in the login screen. This will capture events for different users and companies and enable us to show the power of PostHog insights.
Next, go to the Product analytics tab in PostHog and click the + New insight button. PostHog supports many different types of insights, such as trends, funnels, paths and more.
In this tutorial, we create a simple trend insight:
- Select the Trends tab.
- Under the Series header select the
home_button_clickedevent. - Click the Total count dropdown to change how events are aggregated. You can choose options such as
Count per user,Unique users,Unique company(s), and more. You can also add filters or breakdown based on properties.
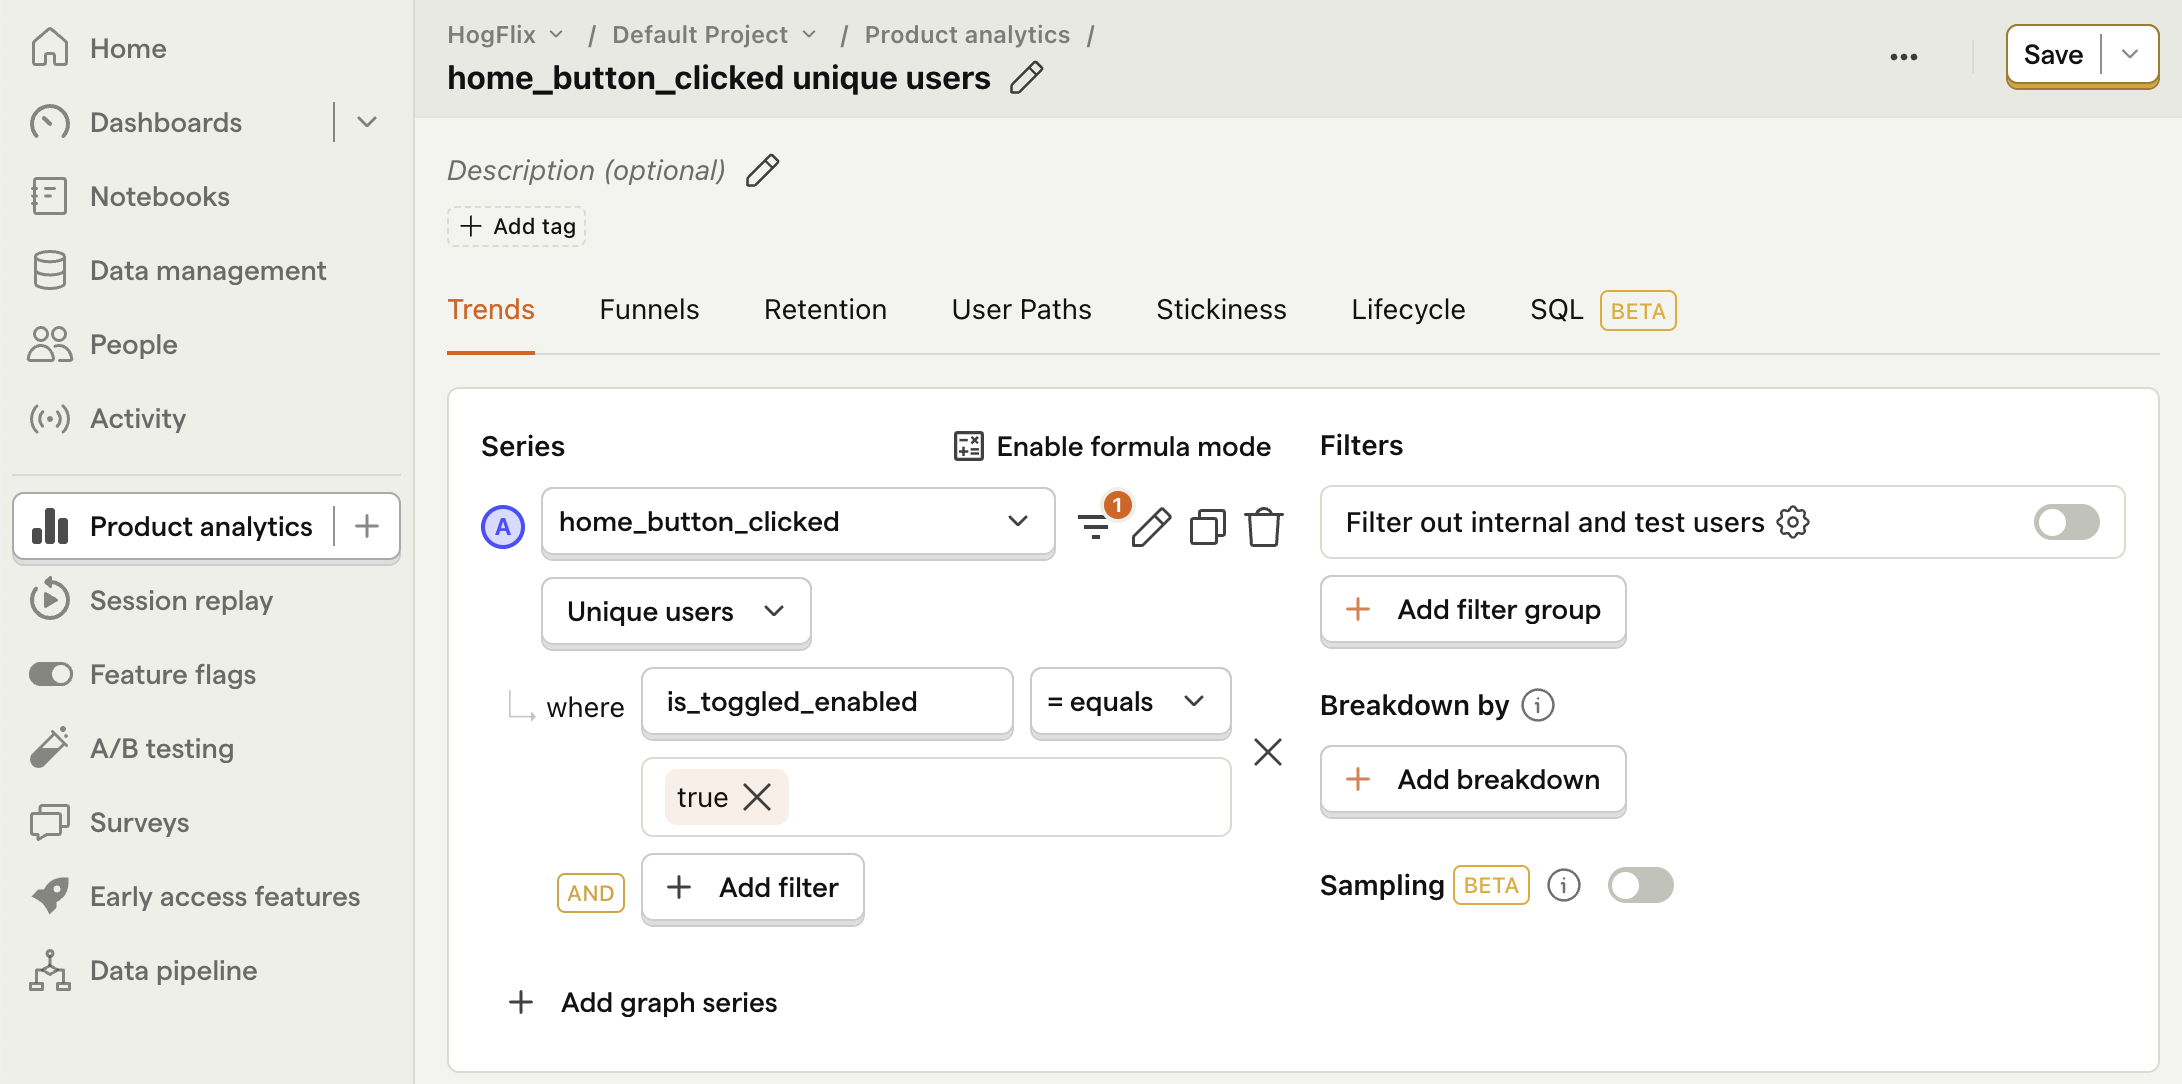
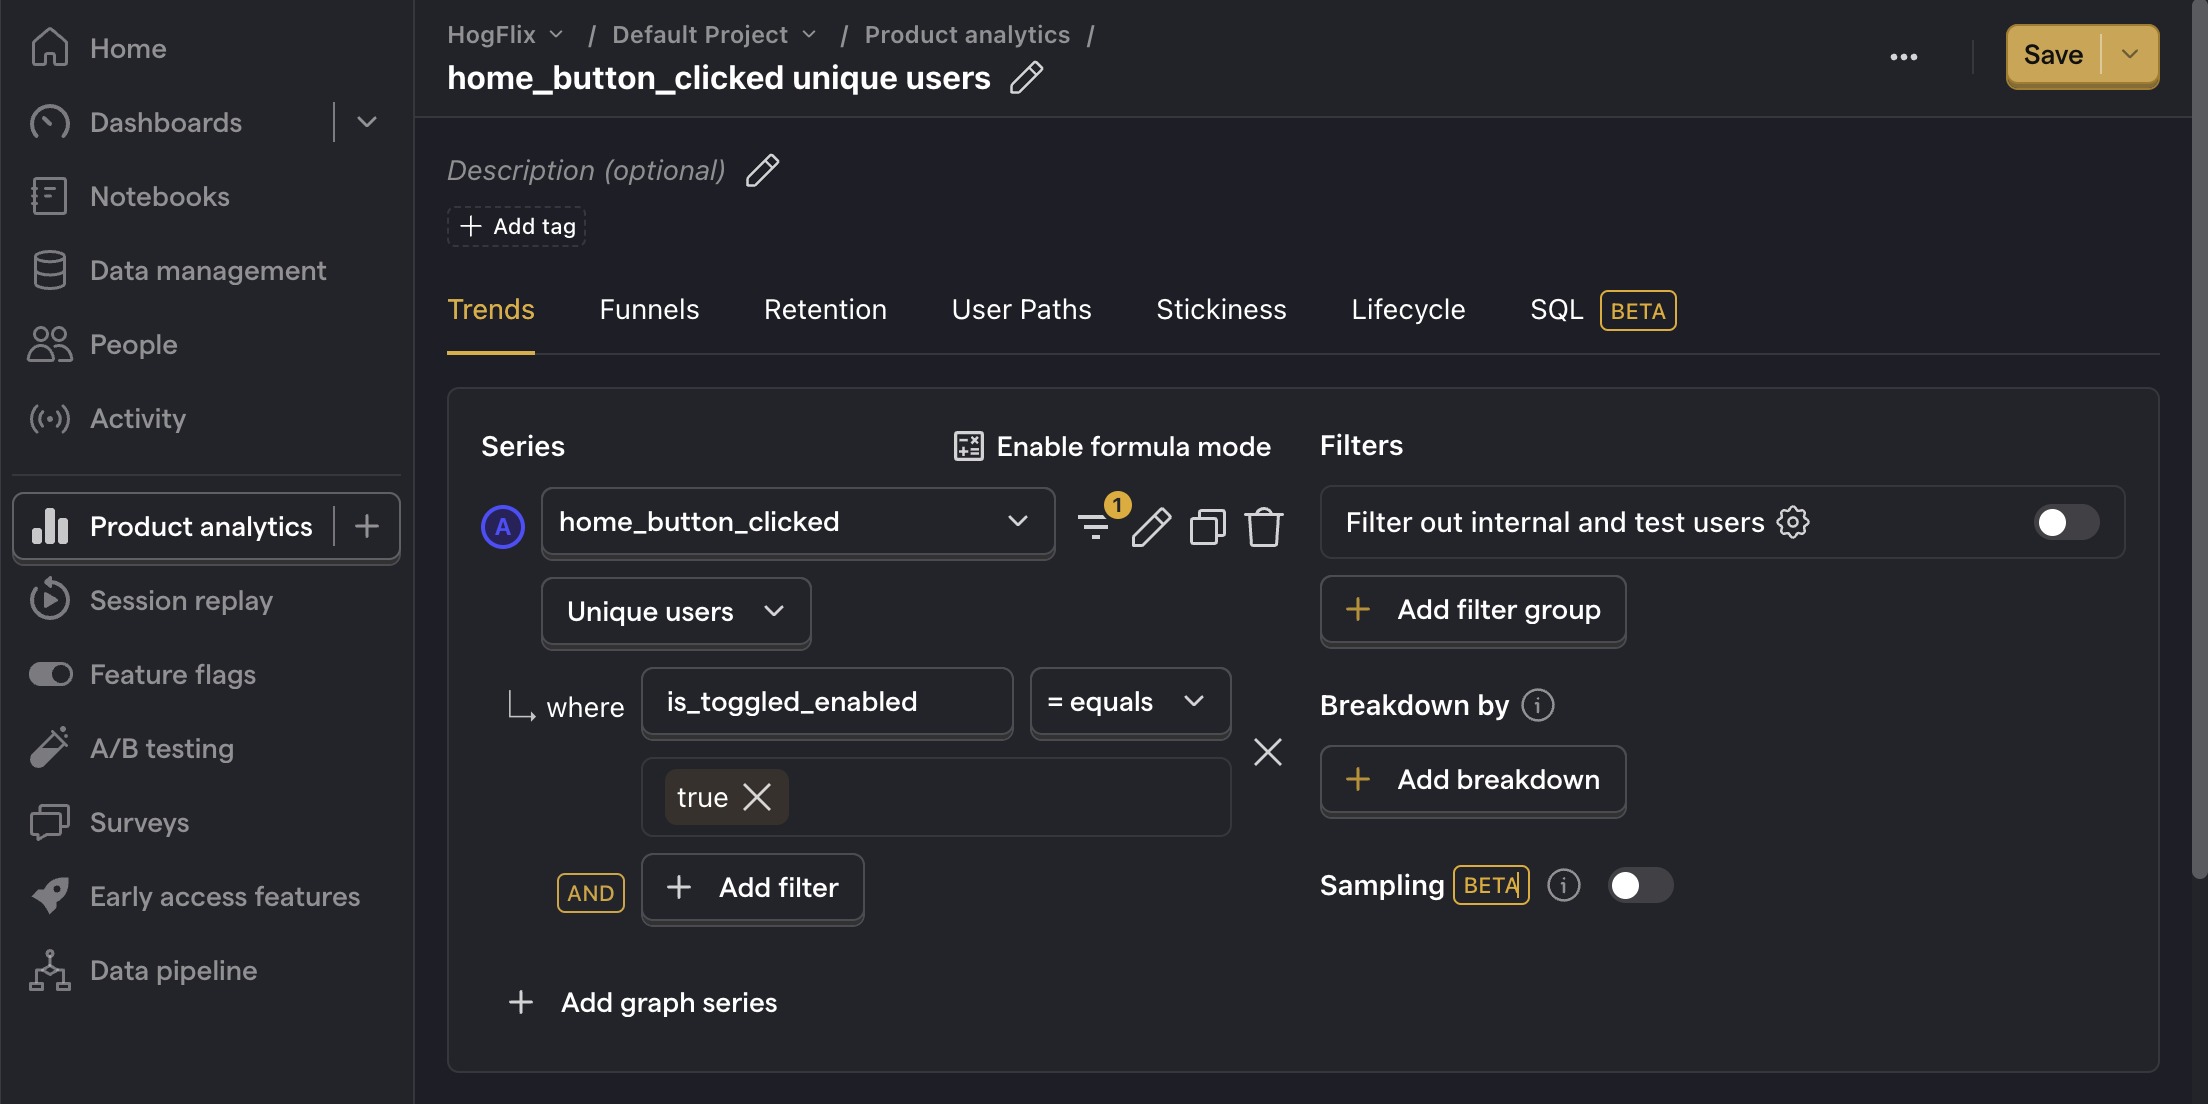
For example, in the image below we set our insight to show number of unique users that captured the home_button_clicked event where the toggled is enabled:
That's it! Feel free to play around in your dashboard and explore the different kinds of insights you can create in PostHog.
Further reading

Subscribe to our newsletter
Product for Engineers
Read by 25,000+ founders and builders.
We'll share your email with Substack
Questions? Ask Max AI.
It's easier than reading through 564 docs articles.
